 EASTER is Coming!!!! I love Easter with the birth of all the new flowers & beauty all around..& Spring is so tranquil..I feel like I've taken myself into a field of flowers or commercial or something...I love the Rebirth of everything..&especially the Spiritual aspect of Easter.Easter also brings back so many fond memoriesof new white or Black Patent Leather shoes, a little matching purse, bow in our hair & oh yes...Let's not forget that White hat with pink ribbon..we havemany photos my dad took to keep that very memorable. Does that sound like anybody elses childhood EasterSunday??? Going to church, Finding our Easter Baskets, Ham Dinner with all the extras??? Soundfamiliar??? Getting hungry for mom's cooking??Our family still does all that but little girls/boys do grow up all too fast..I have to admit I love for my grown kids to come home to find Mr. EasterBunny has indeed come & left not as much candybut maybe earrings, or book or some surprise inEaster Baskets for them.I love the family ties & gatherings...even if bothof my parents are gone..I still try to keep the traditions alive & well.Anyway..Sorry about that..I got distracted withfond memories..Back to the chocolate bunnies...I had promised my husband that I would have 35Chocolate bunnies for his students in his class the last day of school before Easter Vacation. I had been gone with responsibilities all day..I startedthe lollipops around 11:30pm. They really are very Fast/Easy to do & turn out really cute & fun..What do you think??? Leave a comment & tell me..I'd love to know your opinion..SUPPLIES NEEDED:For Basket
1 basket
1 piece of oasis foam
thin gage florist type wire or tape
wire cutters
1 pkg. of iridescent grass
a couple (2 or 3) of colors of curling ribbon
scissors
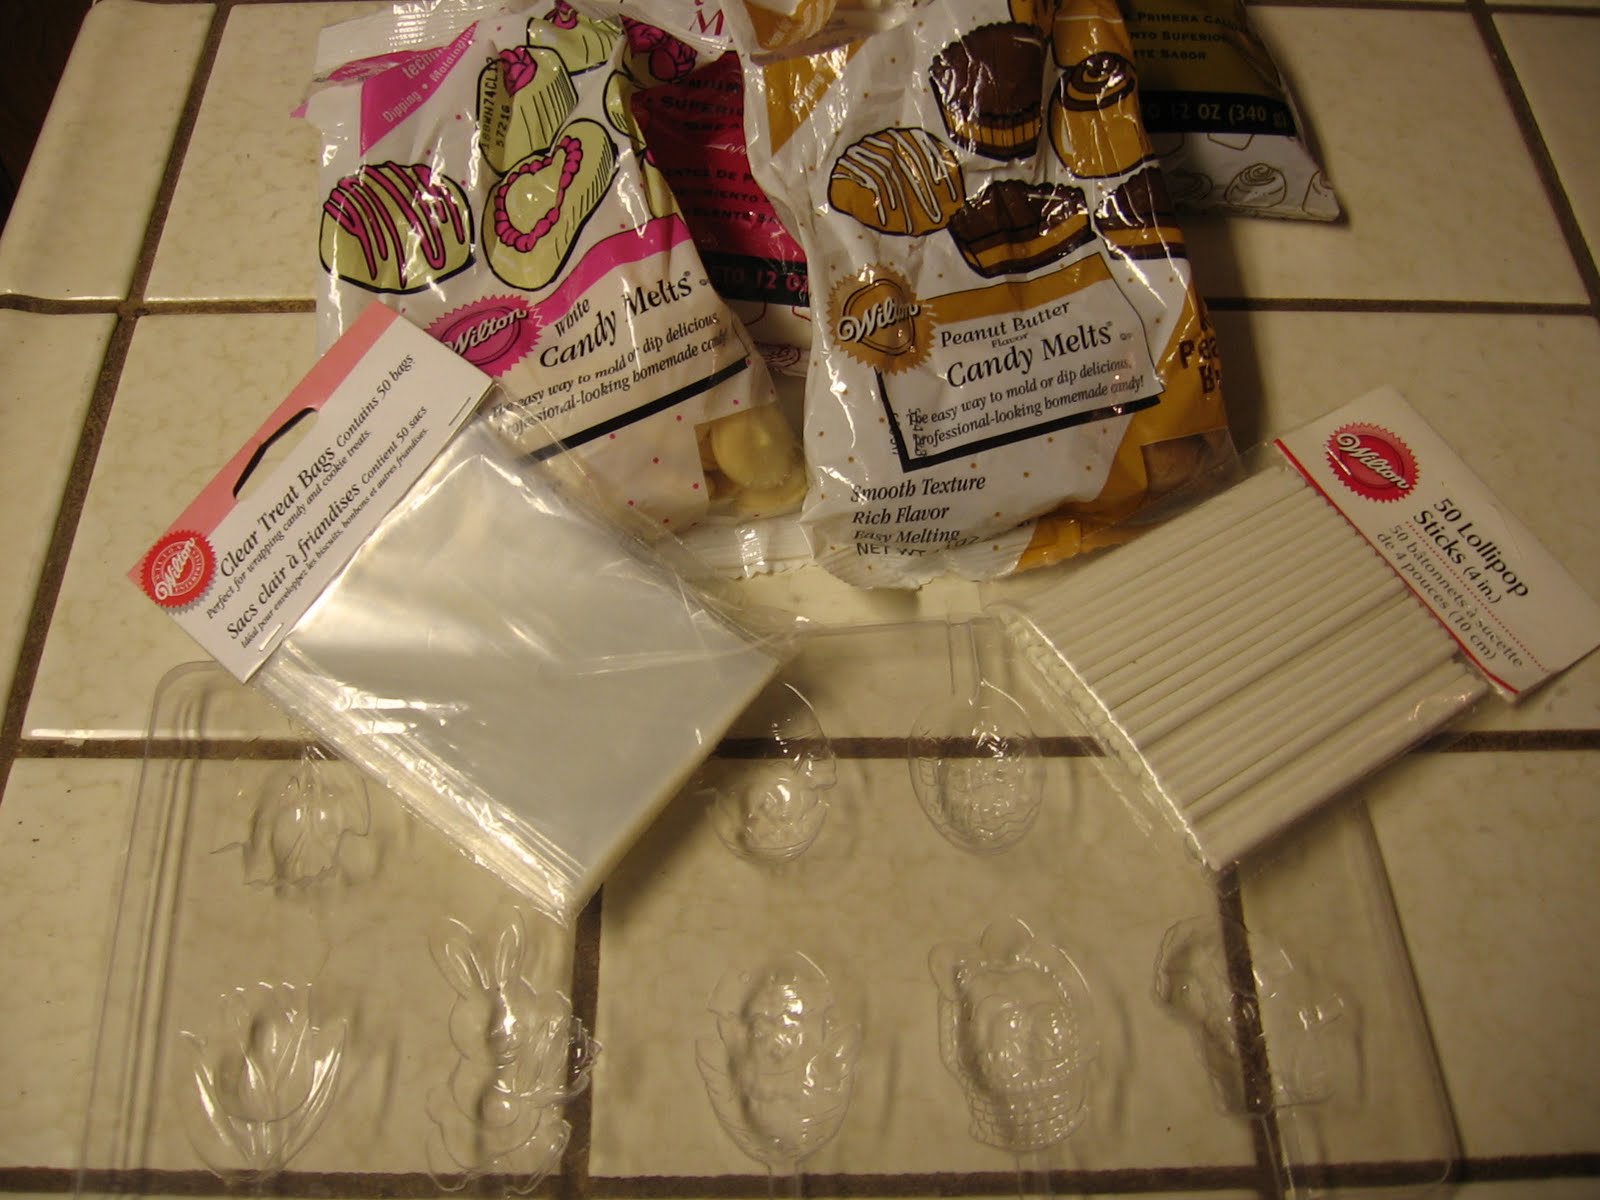
For Chocolate/White Chocolate Lollipops1 candy mold (I used bunnies, eggs, & tulip mold)
1 Bag of candy melts (a bag will usually do I think
around 25-35 maybe more depending on the size
of each mold)
1 bag of (50)lollipop sticks (
Walmart or
Michaels)
1bag of (50) lollipop bags (Walmart or Michaels)
aluminum foil
med. microwave-safe bowl
teaspoon to stir & put melted candy into molds
Oh..Another thing..I used what I had on hand.
This is how I did the Basket..
DIRECTIONS FOR BASKET:1) Found basket I could use..Found some old
already used (but recyclable) Oasis Floral Foam.
Took some wire (thin gage florist type..Walmart or
Michaels have) & made it so the wire secured the
foam, cut it with wire cutters & twisted until tight.
It's hard to see but that's what I did. You could
secure it tightly with florist tape (I didn't have any)
& wrap it through the holes of the basket.
SEE BELOW:
 2)
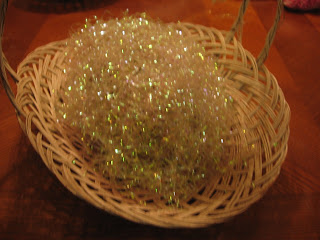
2) Arrange irridescent easter grass on top & sides
of foam (I didn't even need to secure it. It worked
out just fine. The lollipops will keep it pretty much
in place. (I cut off old ribbon with wire cutters)
 This is how I did the lollipops
.
DIRECTIONS FOR LOLLIPOPS:
1) Gather supplies together..SEE BELOW:
 2)
2) Pour 1/2 bag of candy melts into microwave-
safe bowl. Microwave on full power for 45 sec.
(My microwave is 1100 watts & this works fine
for me..you may have to fine tune your own time
& your wattage maybe different than mine..just
keep checking it & stirring it & it should be fine)
Keep stirring & checking very 15-20sec. (if it's on
high) until melted. You might feel safer having it
on 50% power & checking every 30sec. or so. Do
the same with rest of candy melts (depending on
how many you need)
SEE BELOW:
 3)
3) Take a clean candy mold & with a teaspoon
fill each bunny, tulip, (whatever) with chocolate
or white chocolate (not overflowing)
4) Lay lollipop stick (inside slot provided in mold
going into the melted candy) & twist til stick is
covered with melted chocolate. You would be wise
to add a dollop of chocolate on top of that place where
you twisted the stick to make sure it is secure &
it will stay in much better. After it cools & hardens..
it will be very secure.SEE BELOW:
 5)
5) Place in refigerator or freezer for a short time
(try 10-15 min.) & keep checking them until they
"harden." Then take out of freezer or refrigerator
(I like the freezer best because it's way faster)
& turn them over & "pop" them out on to a piece
of foil. Believe it or not they do not need anything
like Pam or spray or anything to help them pop out.
I have used these again & again & have never had
any problem with them not popping out of their
molds.The detail is amazingly clear on them.
SEE BELOW:
 6)
6) I like to put mine in one of the lollipop bags
(they are the perfect size) & tie some curling ribbon
around the stick to secure bag in place.
SEE BELOW:
 7)
7) Curl ribbon with scissors edge & your thumb.
(Careful not to hurt yourself)
SEE BELOW: 8)
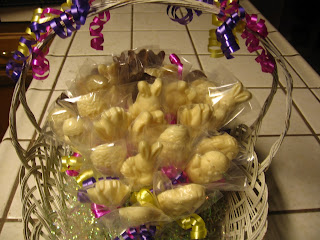
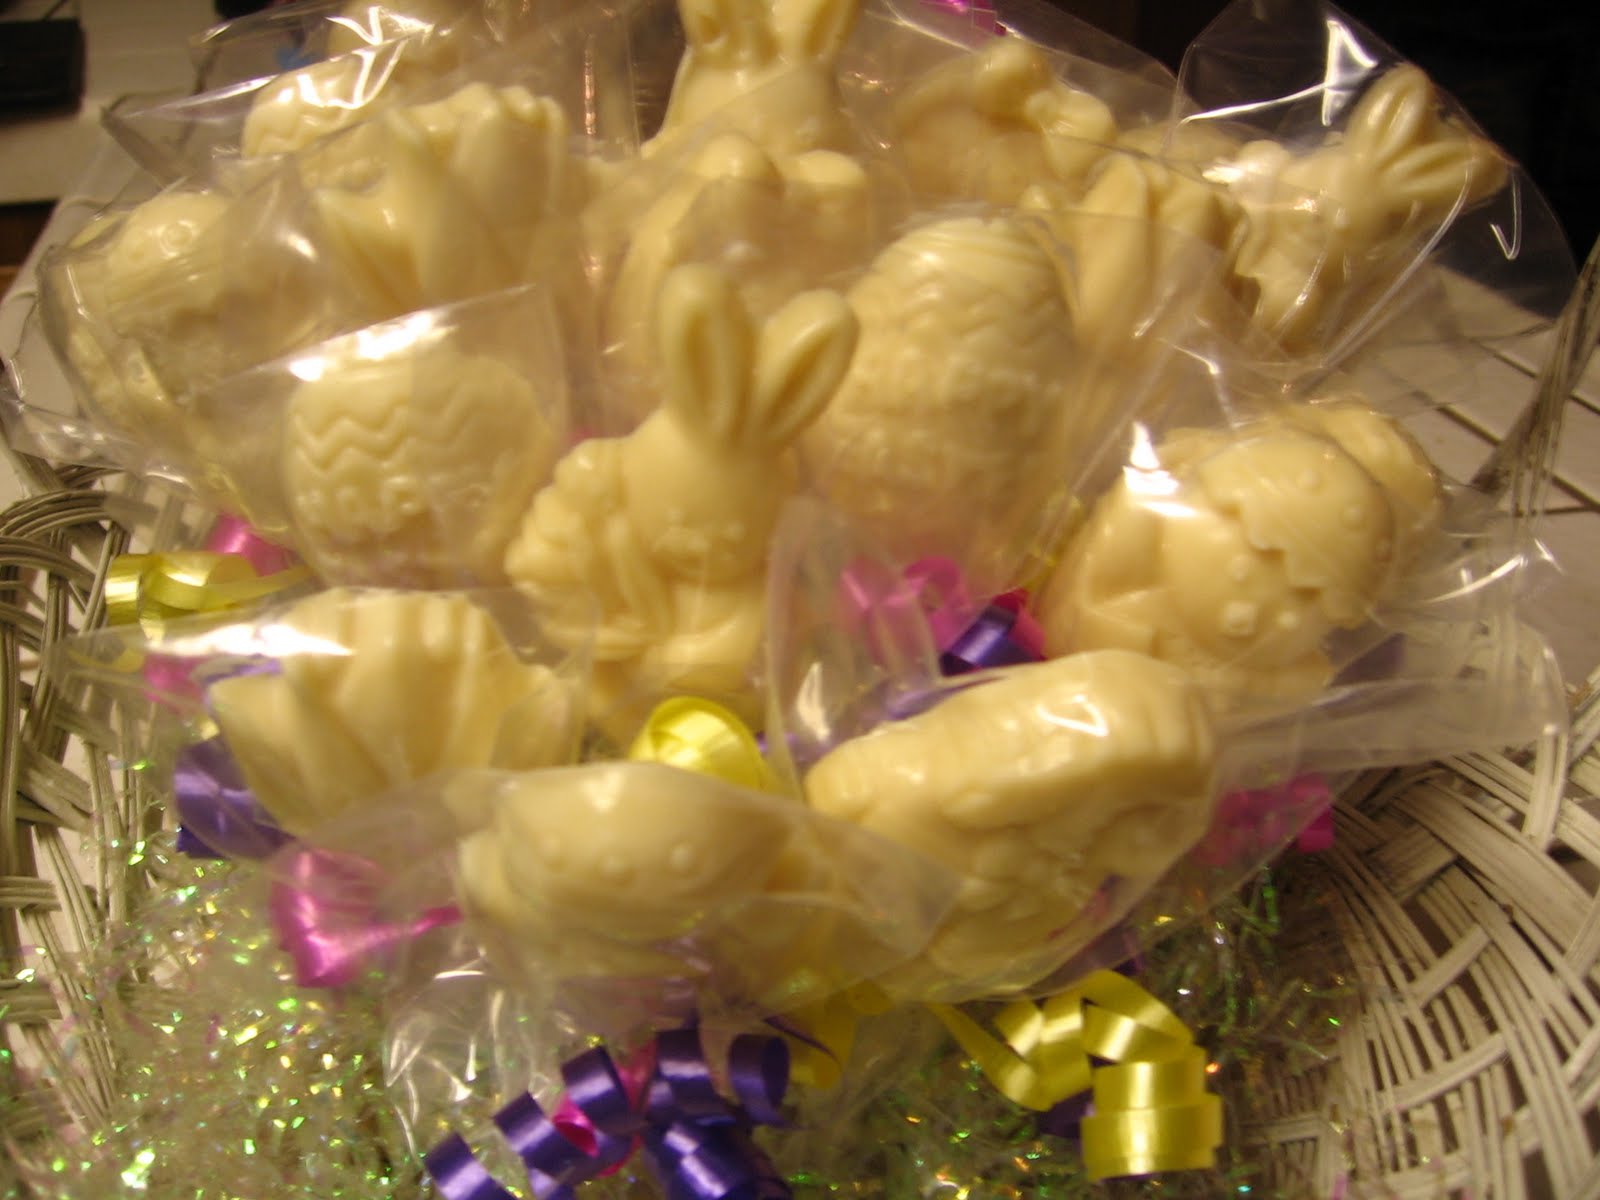
8) Stick each one in the oasis in the basket &
look at them...They look like a little bunch of
bunnies in an egg field or bunny & egg patch..
(like Linus'...pumkin patch in Charlie Brown)
SEE BELOW:
 AREN'T THEY CUTE????? Have fun & let me
know how they turned out for you...Enjoy..


