Please FOLLOW US on Pinterest and LIKE us on Facebook

School Ideas..We have fun name decals, Backpack Name Tags, Teacher Gifts, Wall Vinyls..

Wednesday, April 28, 2010

And the Winner of the Mother's Day Giiveaway is...

WE HAVE A WINNER of the Mother's Day
GIVEAWAY....First of all...thank you so much
to all who shared their favorite things about their
Mother's. The comments were all so special.
Welcome also to all the New Followers & Friends.

Now for the winning number...We used Random.org
to pick a winner and the number was...

Comment #28
Leenda said...
Link back to my blog post:
http://purpletomatoes.tumblr.com/post/548071235/
mothers-day-giveaway-on-santas-gift-shoppe-

Leenda's 3 other comments were...

Hi. I just love the bracelet and would love a chance
to win it. I am a couple of days late,(she wasn't late!)
but I'm visiting you from New Friend Friday on the Girl
Creative. Your blog is so cute.

My absolute favorite thing about my mother is how
she was willing to give up so much for my sister and
me when we were growing up. I really didn't
appreciate it at the time, but I can sure appreciate
it now!

I love Christmas! I am following your blog. Thanks
for the great ideas. :-)

CONGRATULATIONS LEENDA!
Please send me an email at
santasgiftshoppe1@hotmail.com with your
address and I will get this bracelet in the mail
for you!

So It pays to leave 4 comments!!! Leenda did & won
the Light green Bracelet.

Saturday, April 24, 2010

FREE GIVEAWAY FOR MOTHER'S DAY...One-Stroke Pillow or Bracelet..Your choice of 3 items


HERE IT IS...OUR MOTHER'S DAY
FREE GIVEAWAY....I know it's been a long
time since we had a giveaway so I've given
you some of my Favorite items to choose from:
Choose from these 3 items:
#1) White...One-Stroke Pillow
#2) Burgandy...One-Stroke Pillow
#3) Light Green Bracelet

************How To Enter to Win*********
There are 7 ways to enter.....
*******************************************

***Each entry HAS TO BE a "SEPARATE"
comment or it will not be counted...I will use
Random.org to generate a winner..

1)
Pick which 1 item (out of the 3 above photos)
you would choose if you won this giveaway &
LEAVE A COMMENT & your EMAIL ADDRESS
if you don't leave an email it will not be counted!
....(on bottom of todays post)
(1 chance)

2)
LEAVE A "SEPARATE" COMMENT....(on the
bottom of today's post)...about 1 of your favorite
things about YOUR MOTHER...
(1 chance)

3)
Become a "FOLLOWER" on my blog..
Go to the sidebar where it says "FOLLOWERS"
& click on the word "FOLLOW" and continue
with the PROMPTS & leave a "SEPARATE" comment
telling me you became a follower.
(1 chance)

4)
Post about the GIVEAWAY ON YOUR BLOG..
or FACEBOOK PAGE & leave me another
"SEPARATE" comment WITH A LINK back to
your blog..(link will be verified)
(1 chance)

5)
Put my blog on your blogroll
(1 chance)

6)
Take my Santa's Gift Shoppe Button (Code..
on my sidebar) & put it on your blog..on your
sidebar
(1 chance)

7)
Go to my "ETSY SHOP" (link is in the
upper right hand corner of this blog...under the
thumbnail photos)...& chose your "favorite item"
(by going to the sidebar on the ETSY shop site)
where is says "FAVORITES" & click on either
"Add item to Favorites" or "Add seller to Favorites"
& LEAVE A "SEPARATE COMMENT" what you
did.
(1 chance)

GOOD LUCK TO EVERYONE!!!!
*****This Giveaway CLOSES on
Wed. April 28th @ 6pm. (PST)
*****This giveaway is open to
the 48 contiguous united states****

Saturday, April 17, 2010

SNEAK PEEK of "Santa's Gift Shoppe" (Year Round) on "ETSY"

Do you love Polka Dot?? I do...I love any
kind of aprons..but polka dot ones are a favorite.
I love the matching plates as well..What a
FUN IDEA for a Valentine's day gift or
Mother's Day surprise..
(who wouldn't feel "cuter" in the kitchen
wearing one of these!!!)

I've selected a few color combinations of these
Cutie-Pie Aprons that we have & each
can be matched with a child's apron as well.
How cute is that???

A matching Mom/Daughter Cutie-Pie Apron
set or even a Grandma/Grand-Daughter Cutie
-Pie Apron set. We love anything that brings
family closer & making Great memories!!
I can smell the aroma of Chocolate Chip Cookies
in the oven right now....


I love these "Kiss the Cook Plates" They
go so well with the Cutie-Pie Aprons!!
Some of the Most Popular Aprons...are the
Black/White Polka dot...& the Red/White
Polka dot Cutie-Pie Combos...


This is a cute color combo.. Bubble Gum Pink/
Lime sickle Polka dot. This is the adult apron. & This is the child's "matching one"

This is the Child's Aqua/Chocolate
Polka dot Apron...

& the Child's Red/Forest Green
Popular Plaid Apron...

We also have a limited selection of Beanie Caps
with 4" detachable Flowers (2 looks for
the price of one)
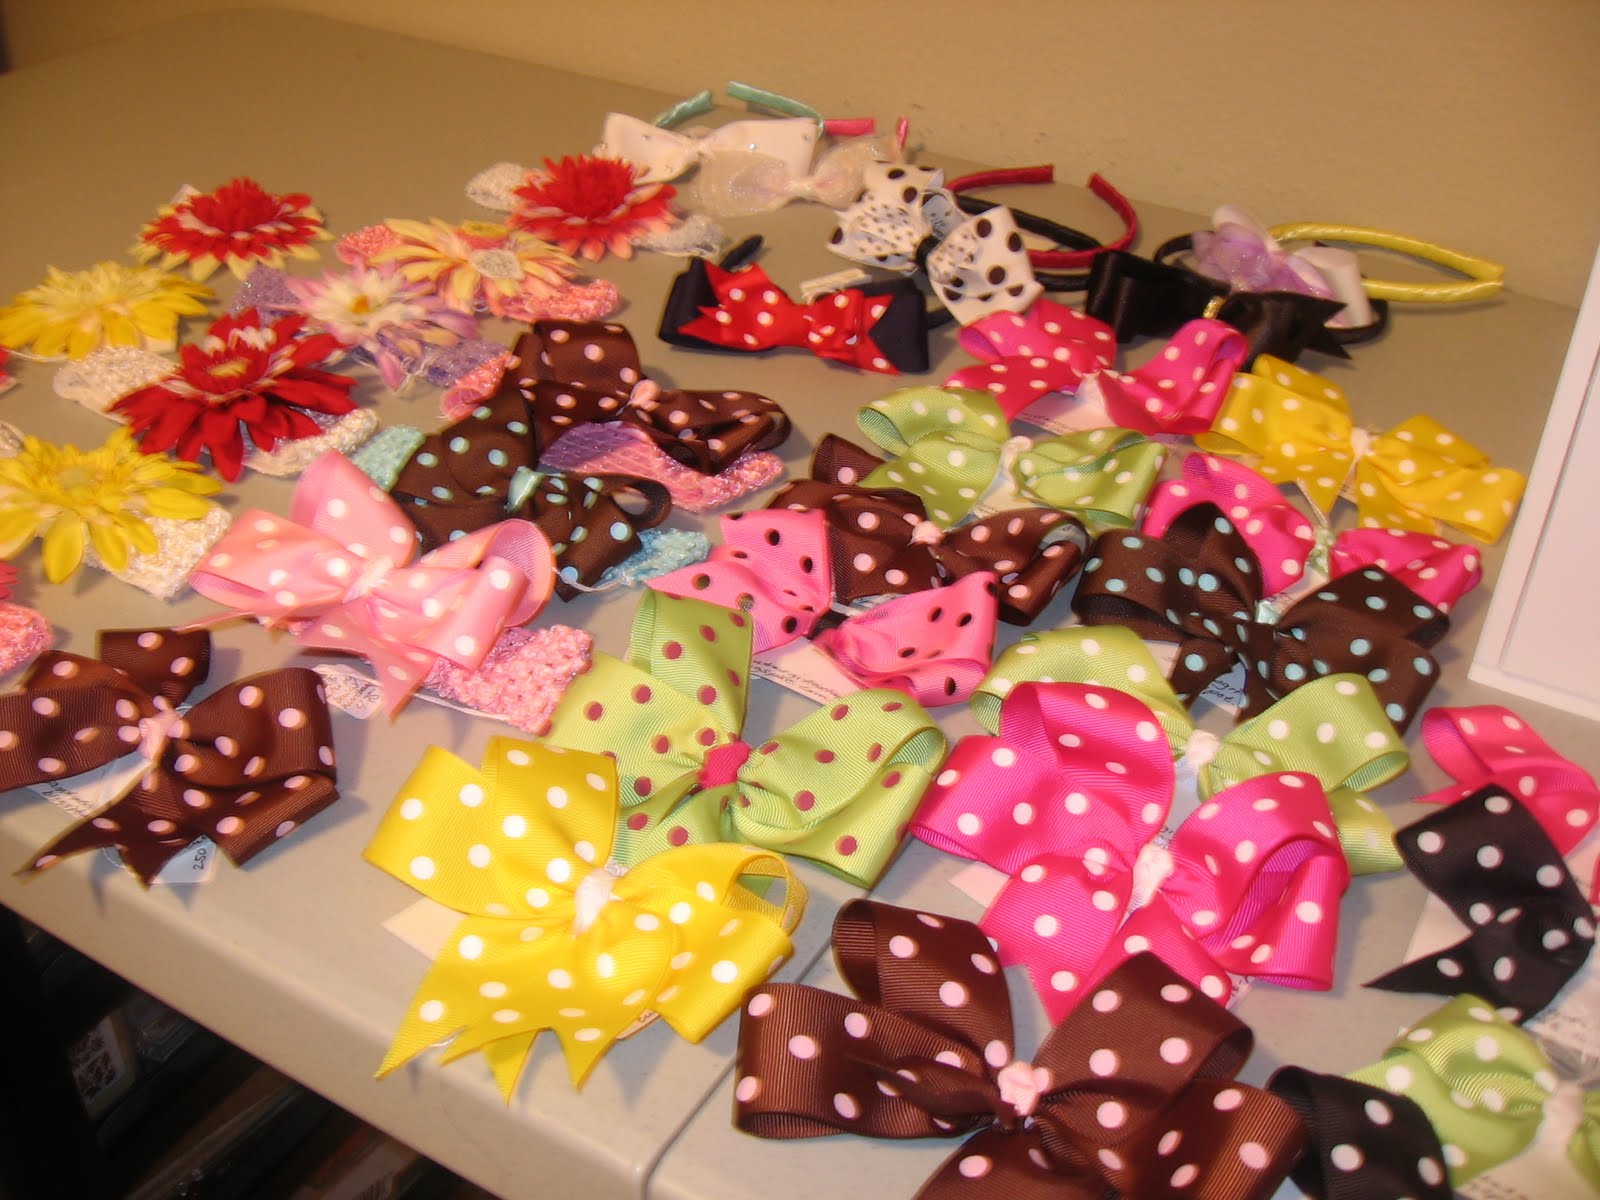
& a wide selection of "Cutie-Pie" Polka dot
Bows (you could even match the Apron!!!)
& Flowers with/without headbands..
All are "interchangeable" with each other
(Fancier Flowers with lg. Rhinestones..
available but not shown in photo)

Thursday, April 8, 2010

HOMEMADE THIN MINT Girl Scout COOKIES

Ohhhh...Thin Mint Cookies...Don't ya just LOVE 'EM??
Well...while I was making the SAMOAS...I thought I
should try these little babies too, & I'm glad I did..
They were such a HIT with everyone who had one
of these minty..chocolaty..crisp melt in your
mouth sensations..

I found them on Baking Bites from a number of years
back..Lucky me..They even taste better (if that can be)
after they have been in the freezer...Ok Here it is:

RECIPE
For Dough:
2 1/4 c. flour
1/4 c. cornstarch
6 Tbsp. unsweetened cocoa powder
1/2 tsp. salt
1 c. white sugar
1/2 c. butter, room temperature
1/3 c. milk (any kind)
1/2 tsp. vanilla extract
3/4 tsp. peppermint extract

For Chocolate Coating
10 oz. dark or semisweet chocolate
1/2 c. butter, room temperature

DIRECTIONS:
1) In a small bowl whisk together flour, cornstarch
cocoa powder, & salt.
2) In a large bowl, cream together butter & sugar.
With the mixer on low speed, add in the milk & the
extracts. Mixture will look curdled. Gradually, add
flour mixture until fully incorporated. SEE BELOW:
3) Shape dough into two logs, about 1 1/2 inches in
diameter, wrap in plastic wrap & freeze for at least
1-2 hours, until dough is very firm. SEE BELOW:


4) Pre-heat oven to 375F. Slice dough into
rounds not more than 1/4 inch thick. (If they are
too thick they will not be as crisp) & place on
a parchment lined (or I used a Silpat Liner)
baking sheet. Cookies will not spread very much,
so you can put them quite close together.
***TIP***When slicing the cookie log you can dip
your knife into warm water before each cut but
make sure you don't have any residue left on the
knife from the previous cut..You want a clean cut
Maybe a cheese slicer would work??SEE BELOW:

5) Bake for 13-15 min, until cookies are firm
at the edges. Cool completely on a wire rack
before dipping in chocolate. SEE BELOW:
TO MAKE CHOCOLATE COATING:
1) Measure out 10 oz. of chocolate ( I used chocolate
chips) & a kitchen scale. SEE BELOW:
2) In a microwave-safe bowl, combine chocolate
& butter. SEE BELOW:
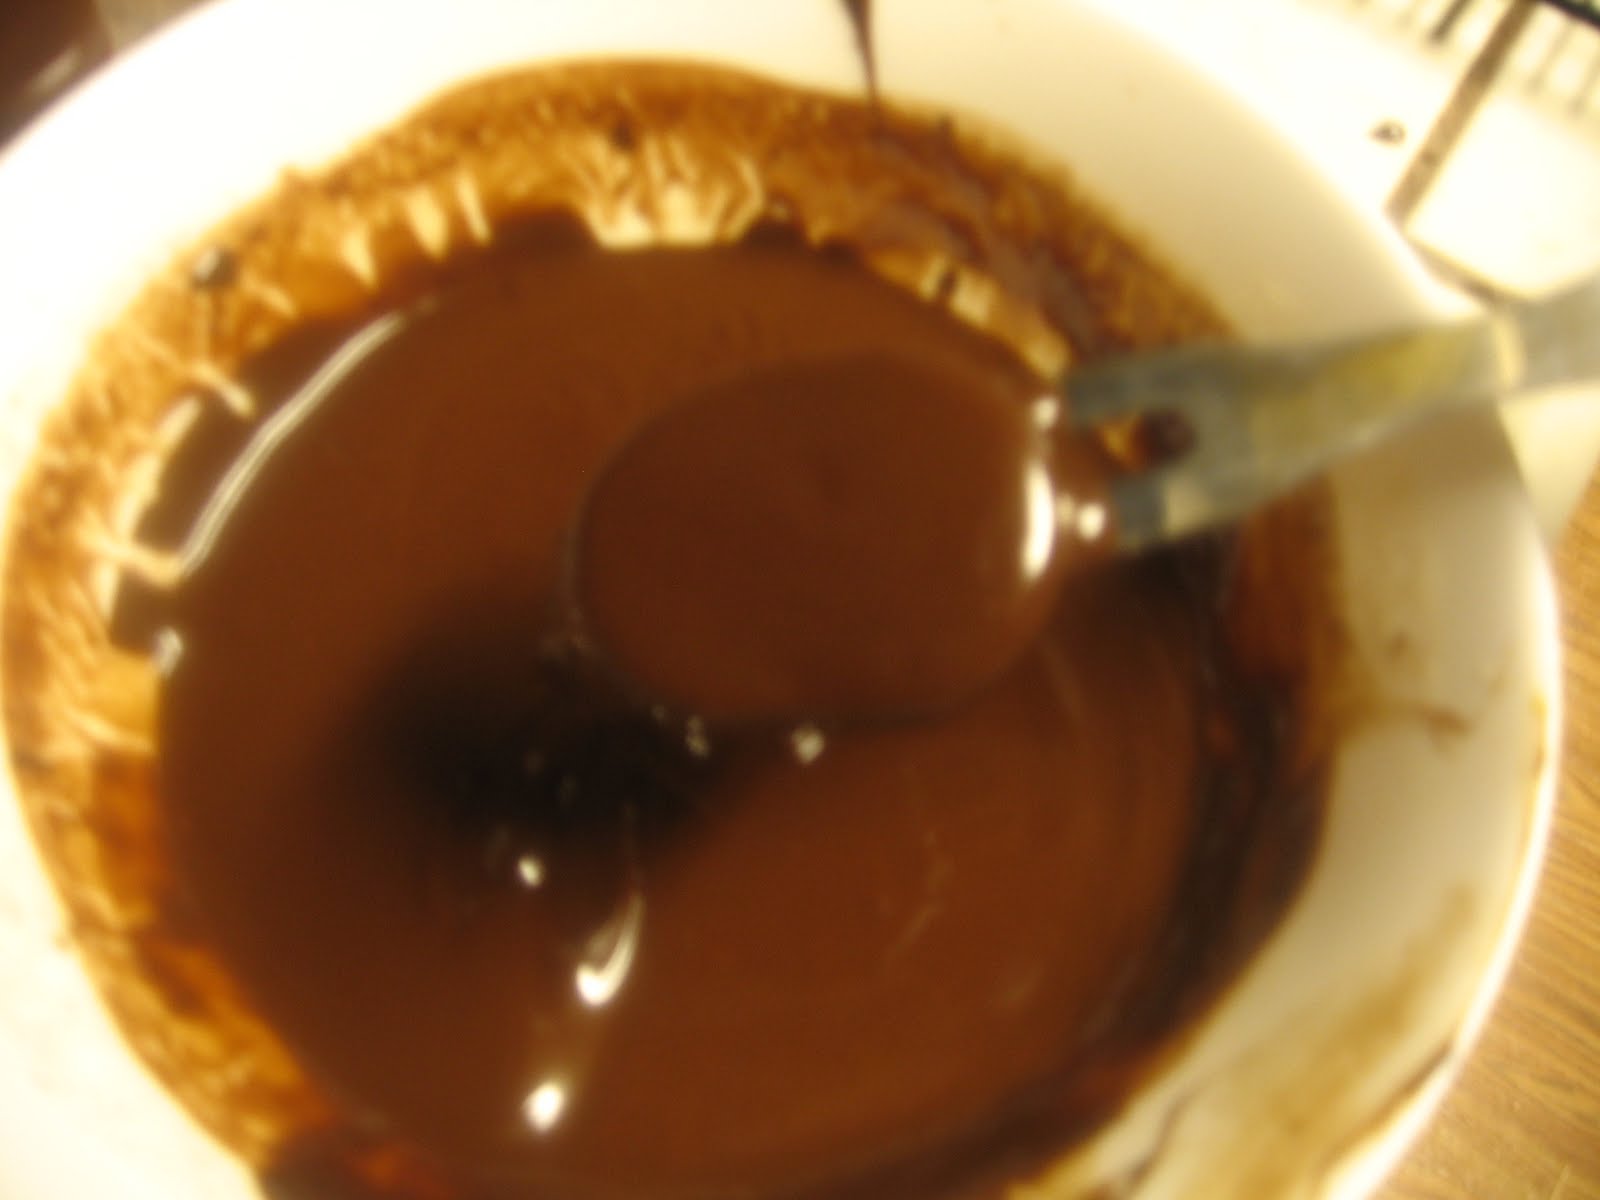
3) Melt on high power in the microwave, stirring every
45 sec. until chocolate is smooth. (Watch carefully
you don't want it to scorch.) Chocolate should
have the consistency somewhere between chocolate
syrup & fudge for a thin coating. SEE BELOW:

4) Dip each cookie in melted chocolate, turn with
fork to coat, then transfer to a piece of parchment
paper (or wax paper) to set up for at least 30 min.
or until chocolate is cool & firm. I think I would
definately put them in the freezer to harden up..
but I think cold Thin Mint Cookies taste even
better coming from the freezer..SEE BELOW:
***Tip**(Reheat chcolate as needed to keep it
smooth & easy to dip cookies in)
I put a piece of wax paper over the silpat liner &
baking sheet for support under it. Before I put
them in the refrigerator to set up.
You are finished...Yeah... Now you can watch
the compliments start coming & keep coming..
they are that good!!!

Saturday, April 3, 2010

ONE-STROKE Hand-Painted PILLOWS

I Love these Pillows.. Funny how an accident
can turn into a blessing or possibly "New Item"
in a Boutique Shoppe...That's what happened
here.

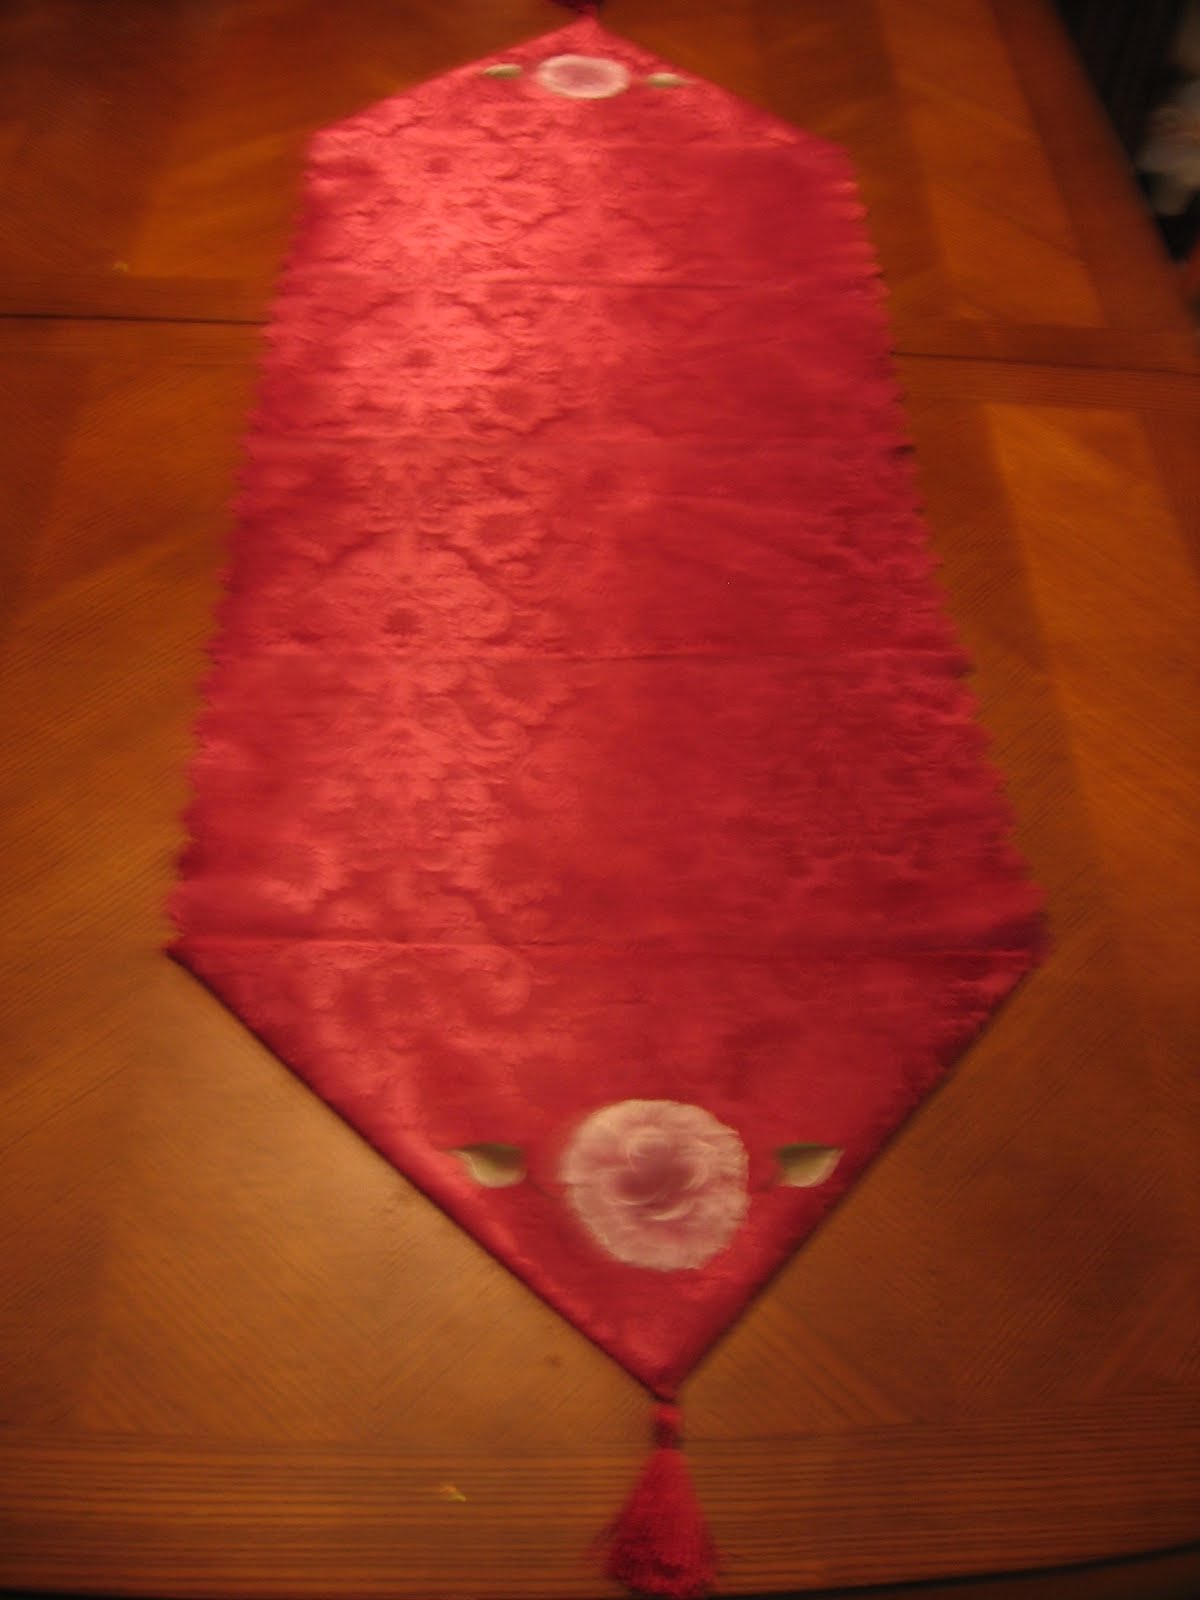
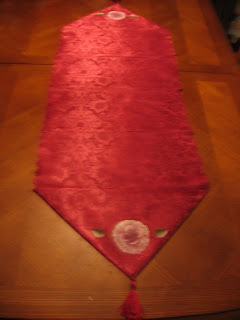
I was making Table Runners into something
a bit more "Vintage" by painting a rose on each
end of the runner..(they were for my Christmas
Boutique....Santa's Gift Shoppe) I have in my
home each yr.

I finished a number of them, put them away &
when I brought them out (for the boutique) I
realized one of them had some paint on it in the
center which shouldn't have been there...
because of that problem..I took the
runner..cut it, & made an "Envelope Pillow"
out of it. When Life Hands you Lemons..Make
Lemonade....isn't that how the saying goes???

BELOW are 3 different colors with & without
embellishments (lace, ribbon, etc.) Which one do
you like the BEST?????

This would make a Great Mother's Day Gift!!!
(May 9th) They will be available in my "Etsy
Shoppe" in about a week....


These are the supplies needed for creating
this Envelope Pillow...
1 Table Runner
1 pkg. stuffing (probably will use 1/2)
Needle/Thread/Scissors
Directions:
1) Lay runner out on table & cut off tassels (unless
you want them to remain on the pillow)
2) You would probably want to iron the creases
out of it at this point before starting to put it
together..SEE BELOW:
3) Paint a one-stroke rose w/leaves on each end
of runner (you can stop there & have a wonderful
Hand Painted One-Stroke Rose Table Runner)
.
**To Learn How to do One-Stroke Painting....
Donna Dewberry...The creator of it...has videos,
books, magazines..all of great help in teaching you
how to do it.
(Painting on fabric is somewhat harder
than on paper) Make sure it is thoroughly
dry before making the "Envelope Pillow"
4) To make Pillow:
Cut runner in 1/2. Lay out on table & sew up
a 1/4" seam on the side (opposite from rose)
Turn the seam one more time to finish edge.
(Right hand side of the photo BELOW:)
5) Turn side that was just sewn ( The Bottom
of the pillow) & turn it up to where the triangle
of the top will fold down & over..like an envelope..
6) Sew both sides (one at a time) to make the
Envelope Pouch..Make sure you sew it ON THE
OUTSIDE OF THE PILLOW...SEE BELOW:
7) Flip the triangle over to create the finished
look of the Envelope Pillow.. Stuff pouch & pin
flap of envelope to pouch to make "Pillow".
Hand sew closed & embellish with ribbon, lace,
whatever you like. You can use Fabric Tack for
the embellishments or continue to hand sew
embellishments to secure. Spot Clean..

Beautifully done..your finished.....

Saturday, March 27, 2010

Fast/Easy Chocolate or (White Chocolate) Bunny or Egg Lollipops for EASTER!

EASTER is Coming!!!! I love Easter with
the birth of all the new flowers & beauty all around..
& Spring is so tranquil..I feel like I've taken
myself into a field of flowers or commercial or
something...I love the Rebirth of everything..&
especially the Spiritual aspect of Easter.

Easter also brings back so many fond memories
of new white or Black Patent Leather shoes, a little
matching purse, bow in our hair & oh yes...Let's
not forget that White hat with pink ribbon..we have
many photos my dad took to keep that very
memorable.

Does that sound like anybody elses childhood Easter
Sunday??? Going to church, Finding our Easter
Baskets, Ham Dinner with all the extras??? Sound
familiar??? Getting hungry for mom's cooking??

Our family still does all that but little girls/boys
do grow up all too fast..I have to admit I love for
my grown kids to come home to find Mr. Easter
Bunny has indeed come & left not as much candy
but maybe earrings, or book or some surprise in
Easter Baskets for them.

I love the family ties & gatherings...even if both
of my parents are gone..I still try to keep the
traditions alive & well.

Anyway..Sorry about that..I got distracted with
fond memories..Back to the chocolate bunnies...
I had promised my husband that I would have 35
Chocolate bunnies for his students in his class the
last day of school before Easter Vacation. I had
been gone with responsibilities all day..I started
the lollipops around 11:30pm. They really are very
Fast/Easy to do & turn out really cute & fun..

What do you think??? Leave a comment & tell me..
I'd love to know your opinion..

SUPPLIES NEEDED:
For Basket
1 basket
1 piece of oasis foam
thin gage florist type wire or tape
wire cutters
1 pkg. of iridescent grass
a couple (2 or 3) of colors of curling ribbon
scissors

For Chocolate/White Chocolate Lollipops
1 candy mold (I used bunnies, eggs, & tulip mold)
1 Bag of candy melts (a bag will usually do I think
around 25-35 maybe more depending on the size
of each mold)
1 bag of (50)lollipop sticks (Walmart or Michaels)
1bag of (50) lollipop bags (Walmart or Michaels)
aluminum foil
med. microwave-safe bowl
teaspoon to stir & put melted candy into molds
Oh..Another thing..I used what I had on hand.
This is how I did the Basket..

DIRECTIONS FOR BASKET:
1) Found basket I could use..Found some old
already used (but recyclable) Oasis Floral Foam.
Took some wire (thin gage florist type..Walmart or
Michaels have) & made it so the wire secured the
foam, cut it with wire cutters & twisted until tight.
It's hard to see but that's what I did. You could
secure it tightly with florist tape (I didn't have any)
& wrap it through the holes of the basket.
SEE BELOW:

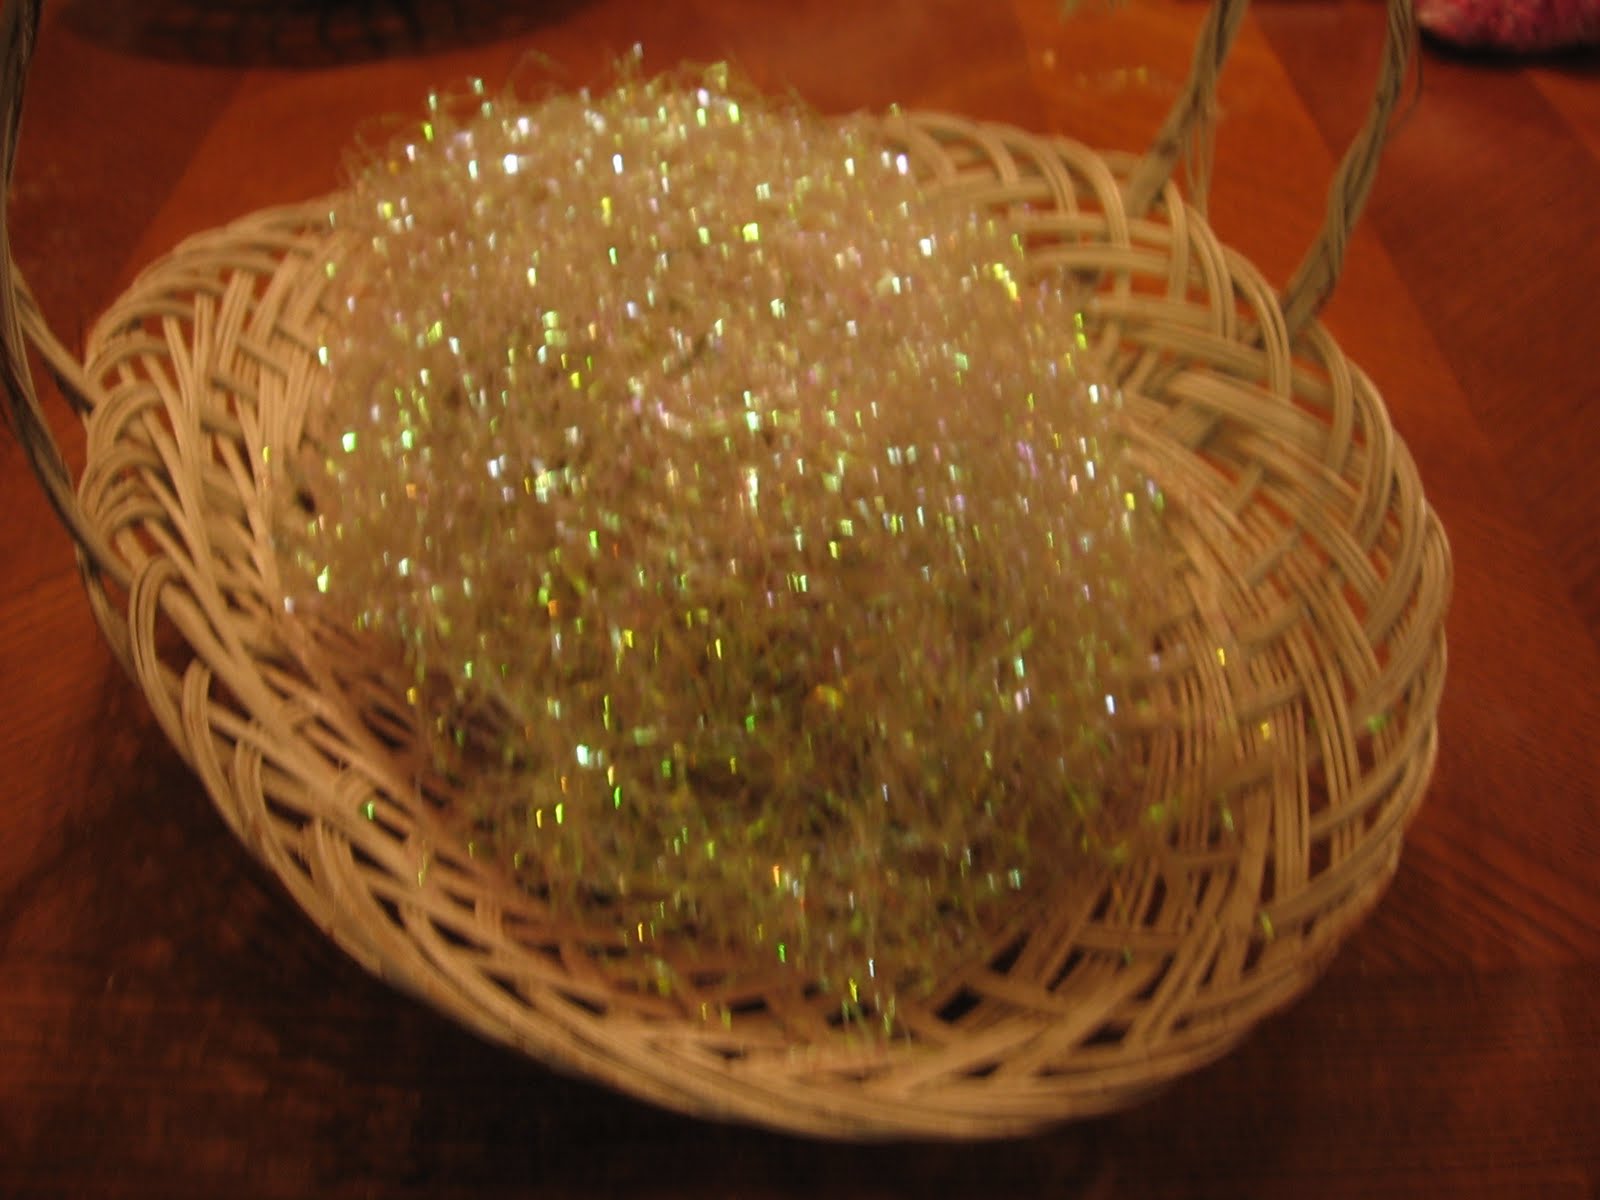
2) Arrange irridescent easter grass on top & sides
of foam (I didn't even need to secure it. It worked
out just fine. The lollipops will keep it pretty much
in place. (I cut off old ribbon with wire cutters)
This is how I did the lollipops
.
DIRECTIONS FOR LOLLIPOPS:
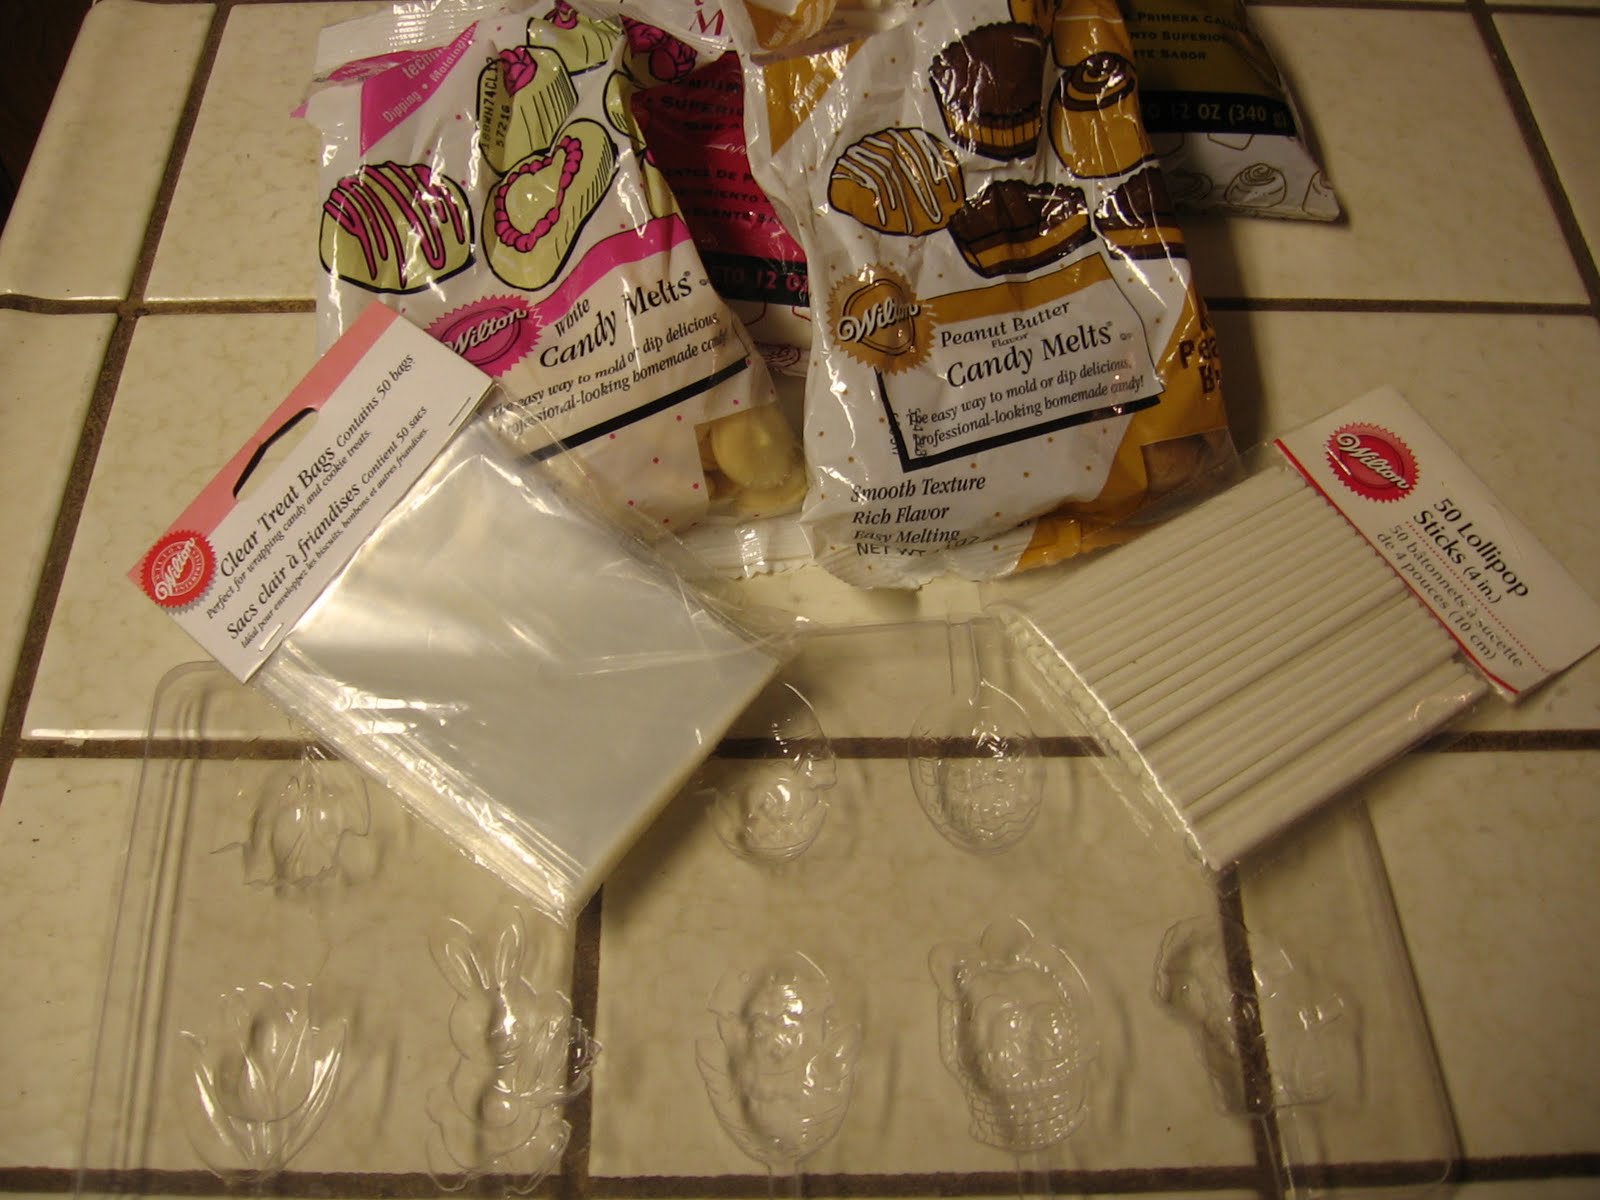
1) Gather supplies together..SEE BELOW:
2) Pour 1/2 bag of candy melts into microwave-
safe bowl. Microwave on full power for 45 sec.
(My microwave is 1100 watts & this works fine
for me..you may have to fine tune your own time
& your wattage maybe different than mine..just
keep checking it & stirring it & it should be fine)
Keep stirring & checking very 15-20sec. (if it's on
high) until melted. You might feel safer having it
on 50% power & checking every 30sec. or so. Do
the same with rest of candy melts (depending on
how many you need)
SEE BELOW:
3) Take a clean candy mold & with a teaspoon
fill each bunny, tulip, (whatever) with chocolate
or white chocolate (not overflowing)
4) Lay lollipop stick (inside slot provided in mold
going into the melted candy) & twist til stick is
covered with melted chocolate. You would be wise
to add a dollop of chocolate on top of that place where
you twisted the stick to make sure it is secure &
it will stay in much better. After it cools & hardens..
it will be very secure.SEE BELOW:
5) Place in refigerator or freezer for a short time
(try 10-15 min.) & keep checking them until they
"harden." Then take out of freezer or refrigerator
(I like the freezer best because it's way faster)
& turn them over & "pop" them out on to a piece
of foil. Believe it or not they do not need anything
like Pam or spray or anything to help them pop out.
I have used these again & again & have never had
any problem with them not popping out of their
molds.The detail is amazingly clear on them.
SEE BELOW:
6) I like to put mine in one of the lollipop bags
(they are the perfect size) & tie some curling ribbon
around the stick to secure bag in place.
SEE BELOW:
7) Curl ribbon with scissors edge & your thumb.
(Careful not to hurt yourself)SEE BELOW:
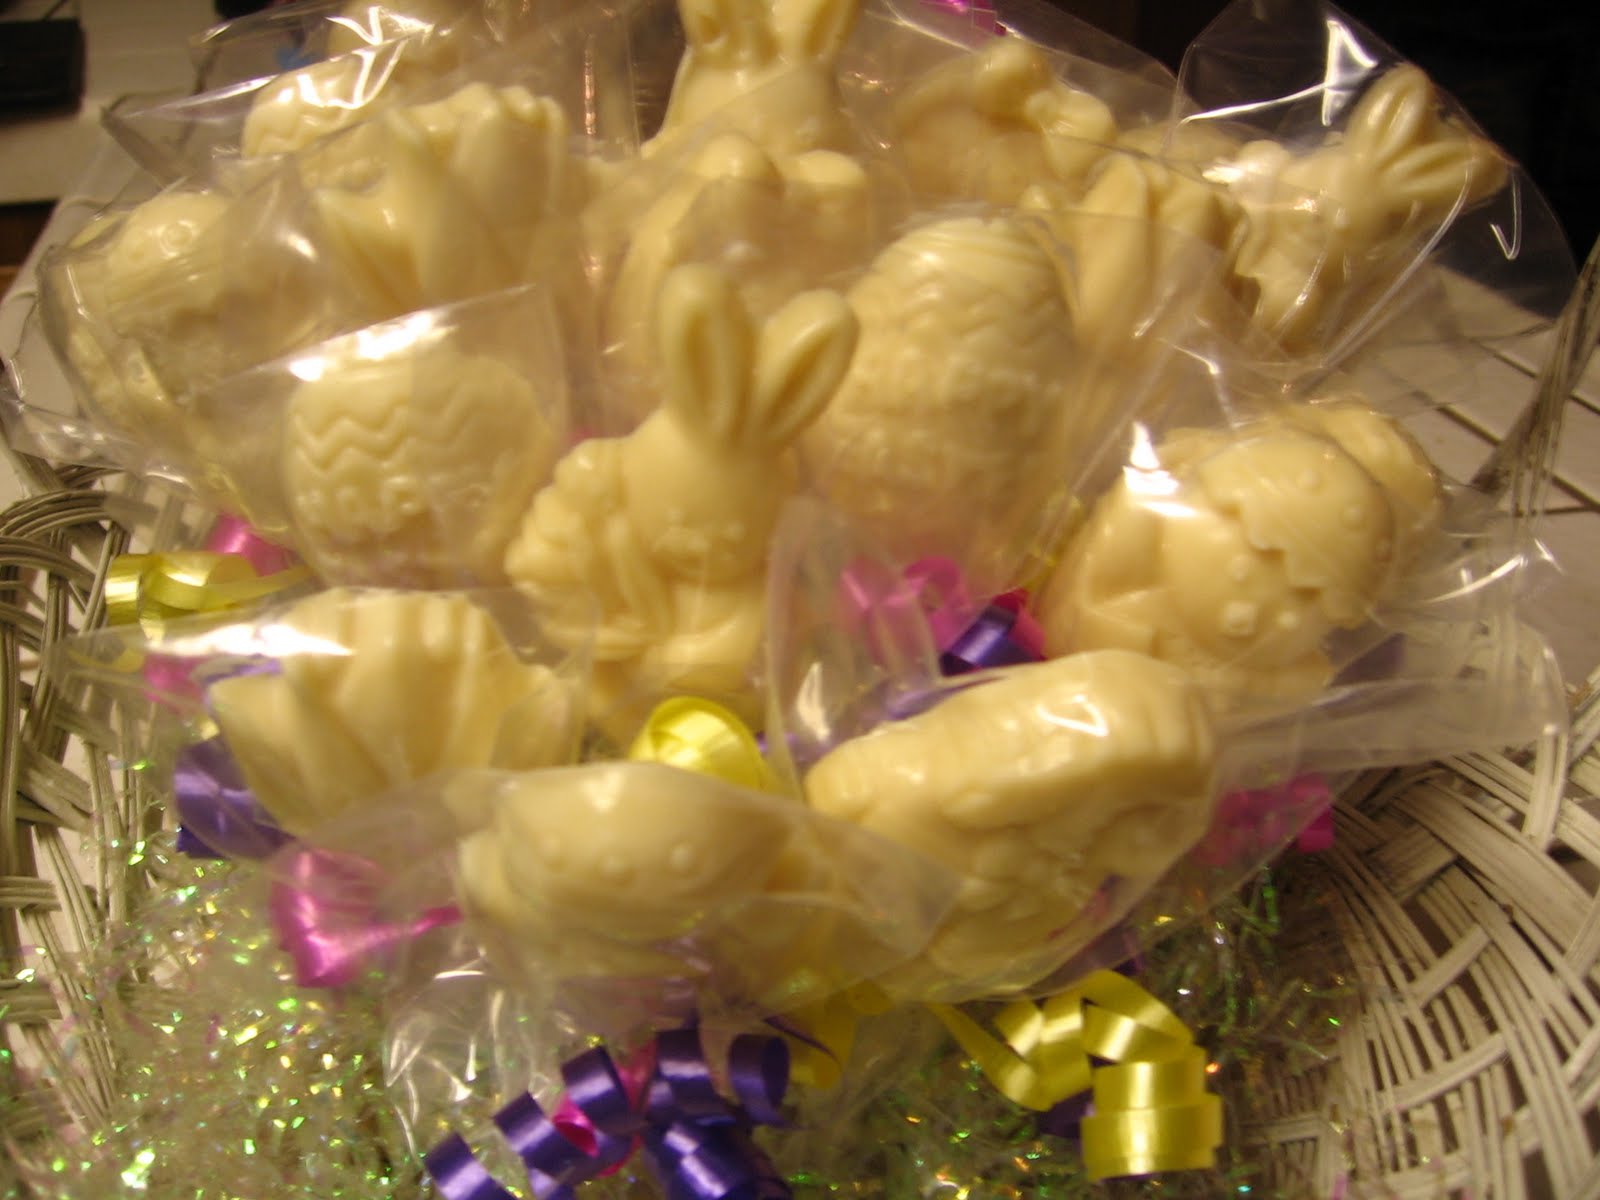
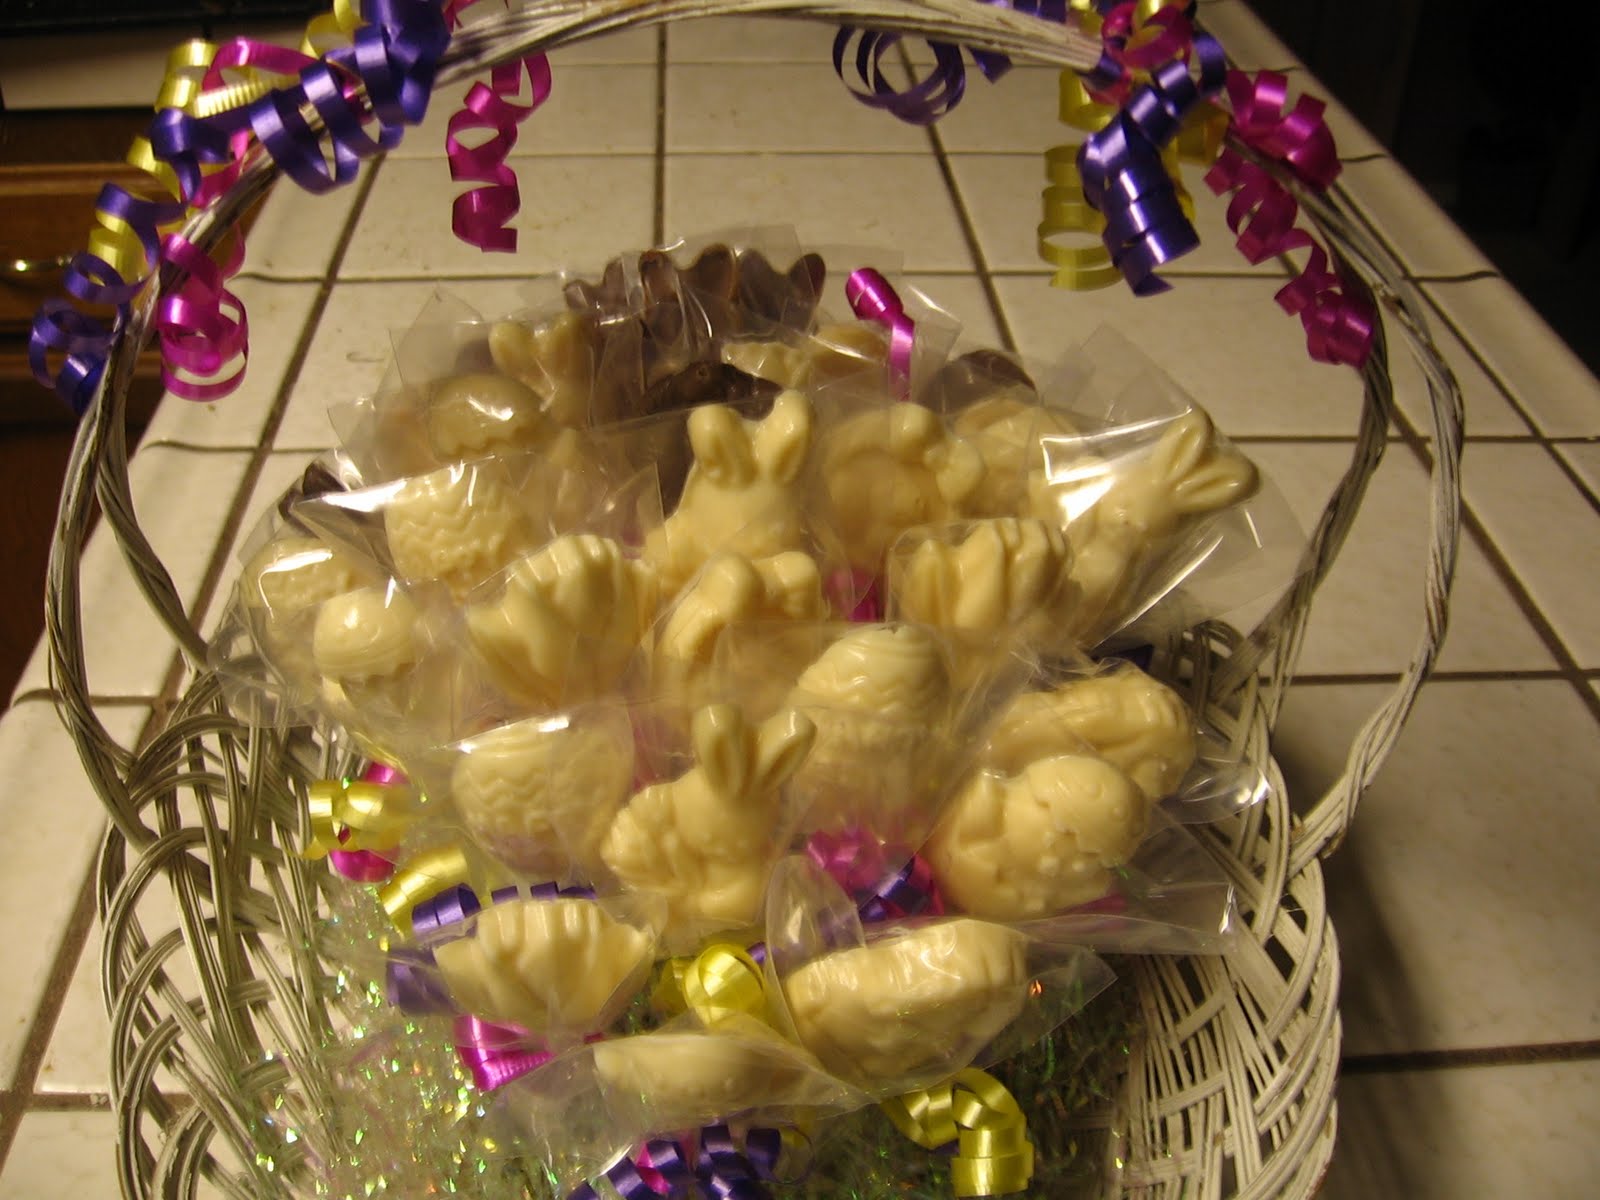
8) Stick each one in the oasis in the basket &
look at them...They look like a little bunch of
bunnies in an egg field or bunny & egg patch..
(like Linus'...pumkin patch in Charlie Brown)
SEE BELOW:
AREN'T THEY CUTE????? Have fun & let me
know how they turned out for you...Enjoy..